
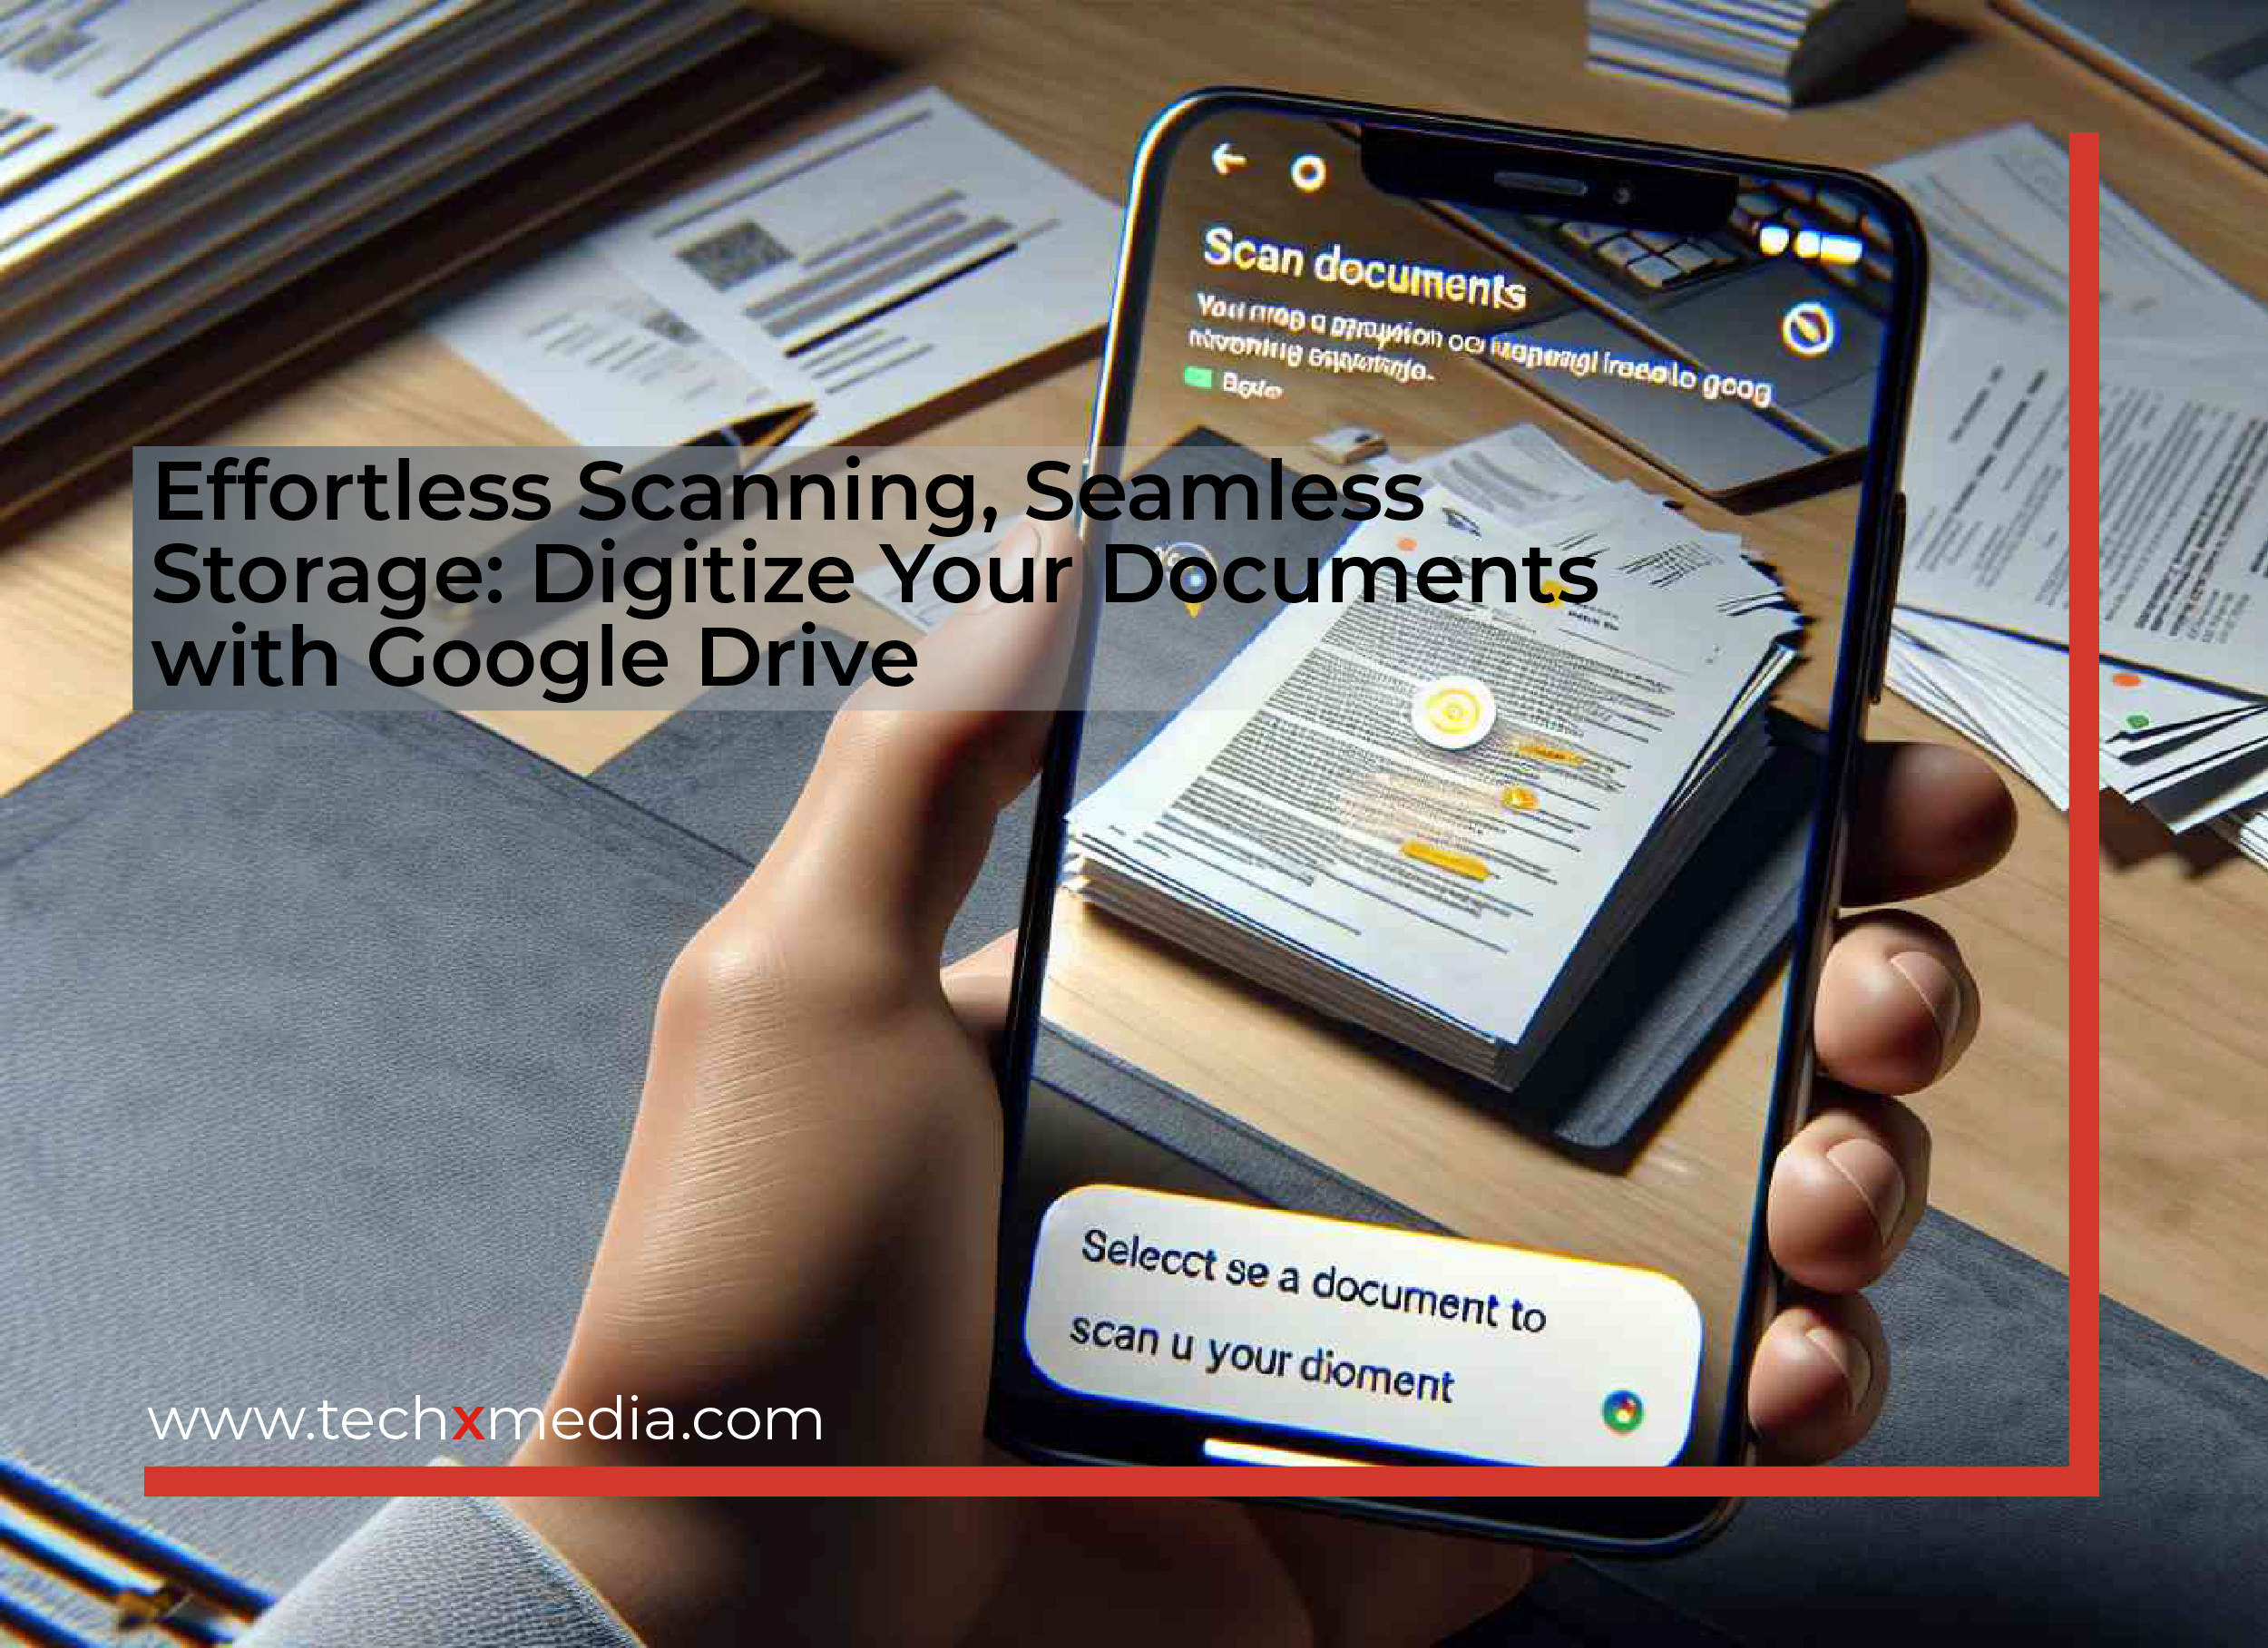
Scanning documents, such as receipts, letters, and billing statements, and saving them as searchable PDFs on Google Drive has never been easier. Google Drive ensures your privacy is respected, with no use of your content for advertising purposes. Here’s how you can scan documents seamlessly:
1. Launch Google Drive: Open the Google Drive app on your device.
2. Access the Camera: Tap on the Camera icon located at the bottom right corner.
3. Capture the Document: Aim your device’s camera at the document. A blue outline will appear, indicating where the image will be cropped.
4. Take the Photo: Snap a picture of the document. You can choose between Manual and Auto capture modes for convenience.
5. Adjust the Scan: Fine-tune your scan as needed.
– Crop and Rotate: Tap on Crop & Rotate to adjust the scan area.
– Enhance Image: Use the Filter option to adjust colors or convert the image to grayscale.
– Refine Image Quality: Remove stains, fingerprints, or other imperfections with the Clean feature.
– Scan Additional Pages: Add more pages to your document by tapping Add.
– Retake or Delete: If necessary, retake the photo or delete unwanted pages.
6. Finalize: Once satisfied, tap on Done.
7. Name your Document: Create a custom file name or choose from suggested titles.
8. Choose Storage Location: Optionally, select the Drive folder where you want to save the document by tapping on Location.
9. Save: Tap on Save to store the scanned document.
To streamline the scanning process further, you can add a scanning shortcut to your device’s Home screen:
1. Access Widgets: Open the widgets section on your Android phone or tablet.
2. Find Drive Scan Widget: Look for the “Drive scan” widget.
3. Place on Home Screen: Touch and hold the widget, then drag it onto your Home screen. You may need to select an account.
4. Select Destination Folder: Choose the folder where you want to save scanned documents. If needed, create a new folder by tapping on New Folder.
5. Confirmation: Tap on Select, and you’ll see the folder name displayed in the widget for easy access.
With these simple steps, you can efficiently scan and organize your documents directly into Google Drive, ensuring they are easily accessible and searchable whenever you need them.