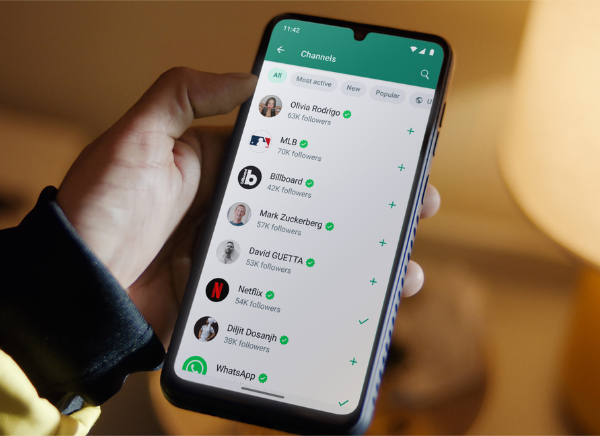
In today’s digital age, staying connected with your followers and sharing updates in real-time has never been easier. One powerful tool that allows you to achieve this seamlessly is WhatsApp Channels. If you’re eager to learn how to create a WhatsApp Channel and enhance your online presence, you’re in the right place. In this guide, we’ll walk you through the steps to create your own WhatsApp Channel, share tips on customizing it, and provide insights into maximizing its potential.
Step 1: Ensure You Have a WhatsApp Account
Before diving into the world of WhatsApp Channels, ensure that you have an active WhatsApp account. If you don’t have one yet, don’t worry; you can easily set one up by following our guide on how to get started with WhatsApp. Additionally, consider using the WhatsApp Business app, as it offers additional features tailored for business use.
Step 2: Fortify Your Security
Security should always be a top priority when managing any digital channel. To add an extra layer of protection, enable two-step verification not only for the WhatsApp account creating the channel but also for the accounts of any administrators. This step helps safeguard your channel and ensures that only authorized personnel have access.
Step 3: Creating Your WhatsApp Channel
Now that you’ve laid the groundwork, it’s time to create your WhatsApp Channel:
1. Access WhatsApp Web: Open WhatsApp Web on your computer and navigate to Channels by clicking on the Channels icon.
2. Initiate Channel Creation: Click on “Create channel” to start the process.
3. Follow the Prompts: Continue by clicking “Continue” and proceed through the on-screen prompts.
4. Choose a Name: Add a channel name to complete the creation process. Remember, you can change the name later if needed.
5. Customize Your Channel: At this point, you have the option to customize your channel further. You can add a description to help potential followers understand your channel’s purpose and add an eye-catching icon to make your channel stand out.
6. Finalize Your Channel: Click “Create channel,” and that’s it! Your WhatsApp Channel is now officially created.
Step 4: Sharing Updates
With your WhatsApp Channel up and running, it’s time to share updates with your followers. You can find and share a link to your channel from the channel info page:
1. Access Channel Info Page: Open Channels by clicking on the Channels icon.
2. Select Your Channel: Click on your channel, and then click on your channel name.
3. Copy the Link: Click on “Copy link.”
Step 5: Need Assistance?
If you ever require assistance or have questions about managing your channel, WhatsApp offers support. Simply go to WhatsApp Settings, select “Help,” and then choose “Contact us.” Their dedicated support team is there to help you navigate any issues you might encounter.
WhatsApp Channels are a fantastic way to stay connected with your audience and provide real-time updates. Whether you’re running a business, a blog, or simply want to engage with your followers, creating a WhatsApp Channel is a straightforward process that can unlock a world of possibilities.
So, what are you waiting for? Get started on your journey to a more direct and personal connection with your followers through WhatsApp Channels. Your digital presence is about to get a major boost!
